Electric golf carts have one recurring major expense…replacing the flooded acid batteries. A bank of golf cart batteries doesn’t charge while driving your cart around. Battery charging is performed when you are parked for the day.
With proper maintenance, a deep cycle battery only lasts a set number of years before the plates get corroded over and are no longer efficient. Some cart batteries are not too far gone and can be rejuvenated using Epsom salts. Note: Electric Golf carts will have 6,8, or 12-volt batteries.
These are the steps on how to refurbish a golf cart battery:
Step 1
Lift out the front seat to access the battery compartment.
Since not all of your cart battery pack will go bad at the same time, you need to identify the failing cart batteries that have under-performing battery voltage and work on the bad ones only. Exercise caution because you are working with acid here. Use goggles and gloves for protection before performing any of these steps.
Step 2
Disconnect the positive wire and then the negative wire from your battery Disconnect the positive wire and then the negative wire from your battery terminals. Clean the battery terminals posts using 2 tablespoons of baking soda mixed with a 1 quart of water. A Wire scratch brush does the job nicely (it looks like a metal bristle toothbrush). Do not allow any of the baking soda water to enter the battery. Rinse the battery thoroughly and air dry or use a paper towel.
Step 3
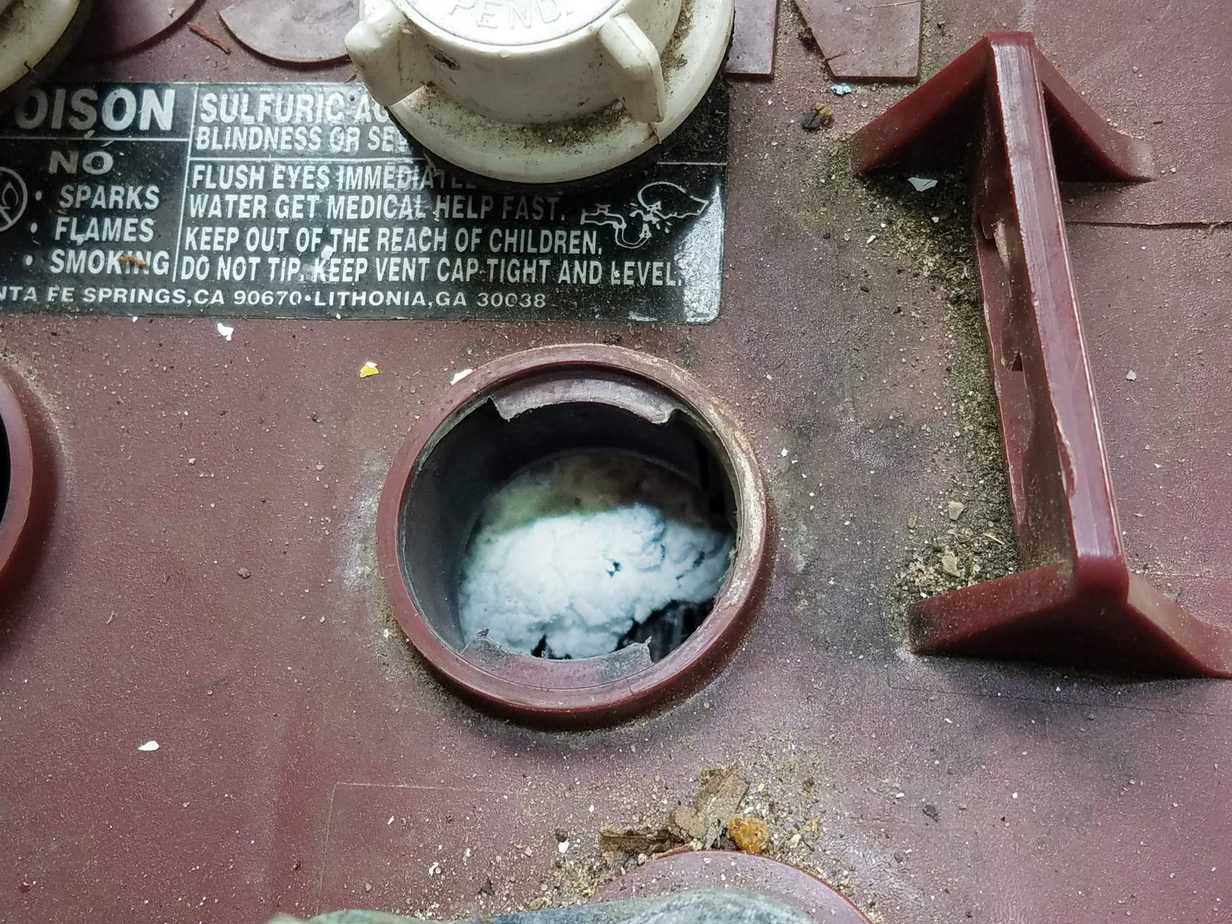
Remove the cell caps and inspect all of the battery cells and battery lead plates. Check the case as well, looking for cracks or other problems. If a battery is cracked and leaking acid, it should be replaced. With the cell caps removed, check the water level and ensure the battery plates in each battery cell are covered and not exposed. Add distilled water to any that are low. Replace the battery caps.
Step 4
Reconnect all the battery cables and charge your batteries overnight using a 3-phase charger. We are going to determine which ones hold a charge properly and which ones do not.
Step 5
Always test fully charged batteries at room temperature. Recheck the batteries fluid levels and refill to the proper levels.
Step 6
If you have a hydrometer, draw electrolyte into the hydrometer several times to allow it to adjust to the temperature of the electrolyte and note the reading. A fully charged battery will have a concentration of sulfuric acid to the water of 1.280, while a discharged battery will test out at about 1.145. Observe also the electrolyte color. A gray or brown coloration shows that the end of your battery life is nearing.
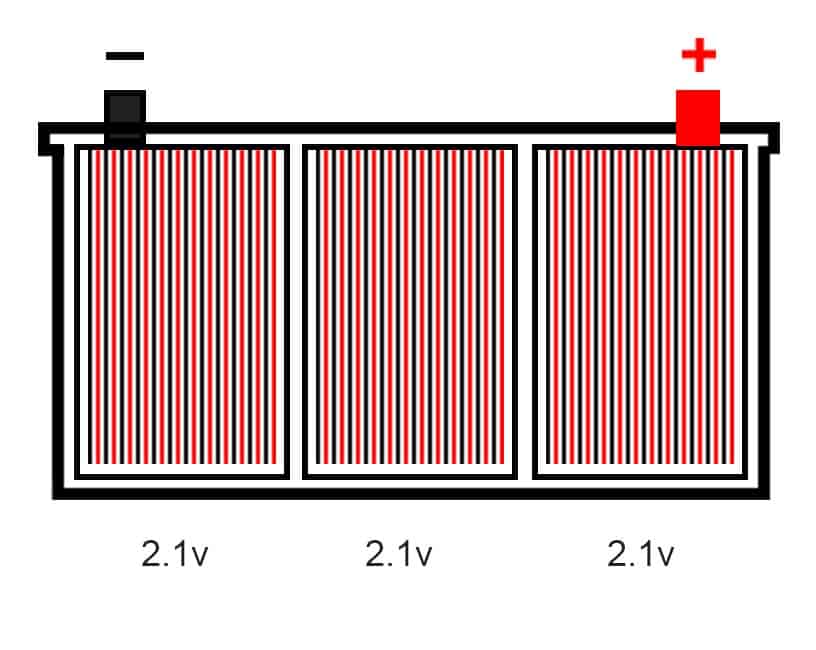
If you do not have a hydrometer, use a multimeter instead. Measure across the terminals on each individual battery. On 6-volt batteries, you should have a battery charge of slightly over 6 volts, like 6.1 to 6.3. If you get a reading of something like 4.1, then one of the battery cells in this unit is bad or shorted.
Step 7
Perform this test on each battery and set aside the candidates for repair or refurbishing.
Step 8
Take the suspect golf cart battery or batteries and drain approximately half of the fluid into a plastic or non-volatile container. Rinse off any of the acids that remain on the case, avoiding getting any water into the cells.
Step 9
Use Epsom salts to make a replacement for the drained battery acid. The ratio should be 1 quart of distilled water with 2 tablespoons of Epsom salts. Fill Each cell with this mixture to the proper fill level. The goal here is to dissolve deposits that have formed on the plates and restore the surface area to a usable state.
Step 10
Charge the batteries overnight again to a full charge cycle and run step 6 again. It may take several charges/discharge cycles before you can tell if there is a difference. If your battery is still not holding the full charge, it is probably beyond repair and a battery replacement is recommended.
Note: Never use tap water..only distilled water should be used in refilling a battery. Impurities in the water contribute to the deposits that form on the inner components of the battery. After the battery is charged, the once distilled water is now sulphuric battery acid.
Safety Gear
Also, be aware of using eye protection, gloves, and an apron when working around acid batteries, especially ones with a full charge. It only takes one slip to cause serious injury.
A battery recondition can also be tried with Thermoil. Thermoil has a product (De-Mister) that, when added, floats on the surface of the electrolyte fluid and reduces water consumption and corrosion. The De-Sulfater can restore and preserve the plates in new and used batteries and keep them in peak condition. Details on this product and battery reconditioning can be found at Thermoil
Was It The Batteries Or The Battery Charger At Fault?
It is common to assume the battery is the problem, but there is a chance that the golf cart battery chargers have a problem. Be sure to check the charger while you are testing the golf cart battery or batteries.
How Do You Tell If Your Golf Cart Battery Bank Is Bad?
Symptoms of a failing battery or batteries could include the following:
- You may notice the battery power and range decreasing over time. The range should be about 2 rounds of golf after charging back to the advertised voltage using a full trickle charge cycle.
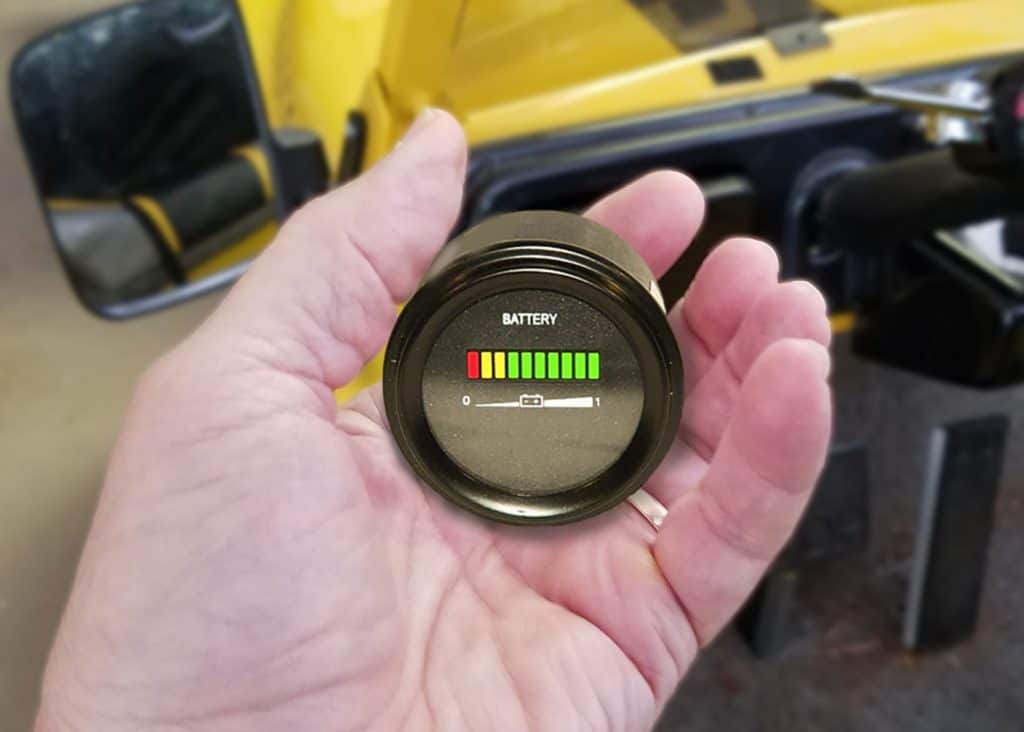
- A “Shutter” feels like you are running across a corduroy road or someone is tapping the brake rapidly. This is a classic sign of low voltage. If this is experienced, your cart may be low on charge, the charger may not be functioning properly or you may have a battery issue. Use a volt meter to measure each battery individually to isolate individual battery health.
- On electric golf carts, the cart refusing to move at all on a charged set of batteries could be the speed controller not engaging, a faulty maintenance switch, or when the voltage falls below a preset value.
- A deep cycle battery charge time takes twice as long to charge your batteries as it did when you first had a battery bank installed. As the battery bank ages, it will not hold a charge as well as it used to. The automatic charger has no way to know this and will continue to charge the battery bank trying to get to a full charge – meaning it will take a longer charge time for the batteries than normal.

How To Test Golf Cart Batteries With Load Testing
Using a load tester will give you a more accurate idea as to the health of your battery. By putting a dummy load on the batteries, you can see how the battery performs when actually being used.
Remove the front seat to access the battery compartment. The load tester hooks to the red wire and black wire terminals of each battery and displays the voltage. When a button is pressed on the tester, a resistor is brought into the circuit and puts a load on the battery. A properly functioning deep cycle battery will only drop in the power output by about .2 to .4 volts. More than this indicates a possibly faulty or failing battery, requiring a battery recondition or battery replacement.


Leave a Reply