In 1963, Harley Davidson golf carts were only available with 3 wheels and the steering was controlled by a tiller turning the front wheel. Later versions of the cart offered a steering wheel instead of a tiller.
Removing The Front Wheel – Harley Davidson 1963-69
Removal of the front wheel for the first decade models is very straightforward. Raise the front wheel off the floor with a jack and place jack stands under the front floor pan frame.
Remove the cotter pin on the right side (facing the vehicle) and unscrew the castellated nut. Each fork has a clamping nut that holds the axle in place. Loosen the nuts on both sides of the fork to allow the axle to slide out of the wheel hub.
The wheel should be able to slide out of the fork at this point.
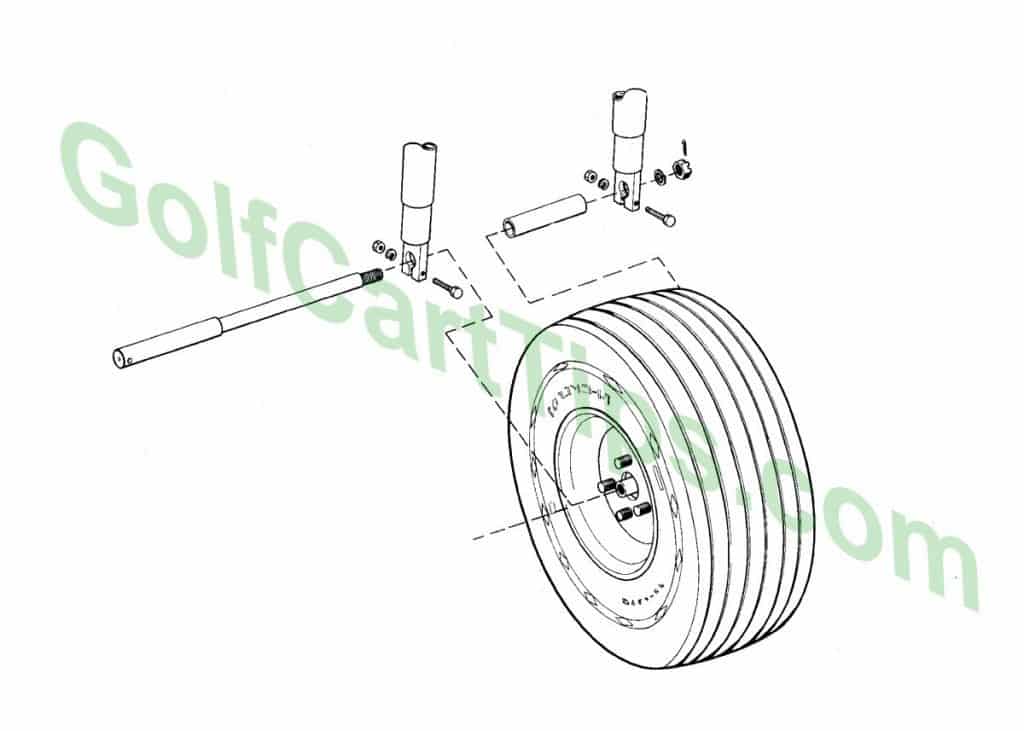
Reinstallation is the reverse of this procedure, but attention needs to be paid to the drag on the axle. The axle nut is also an adjustment for the wheel bearings. Once the axle is back in the fork install the washer and the castellated nut back in place, then tighten the nut until there is a slight drag turning the wheel. Back the nut off 1/8th of a turn or enough to expose the cotter pin hole between the castellations.

Install a new cotter pin. Tighten both axle clamp bolts and you are done.
Harley Davidson Front Wheel – 1970 and Later
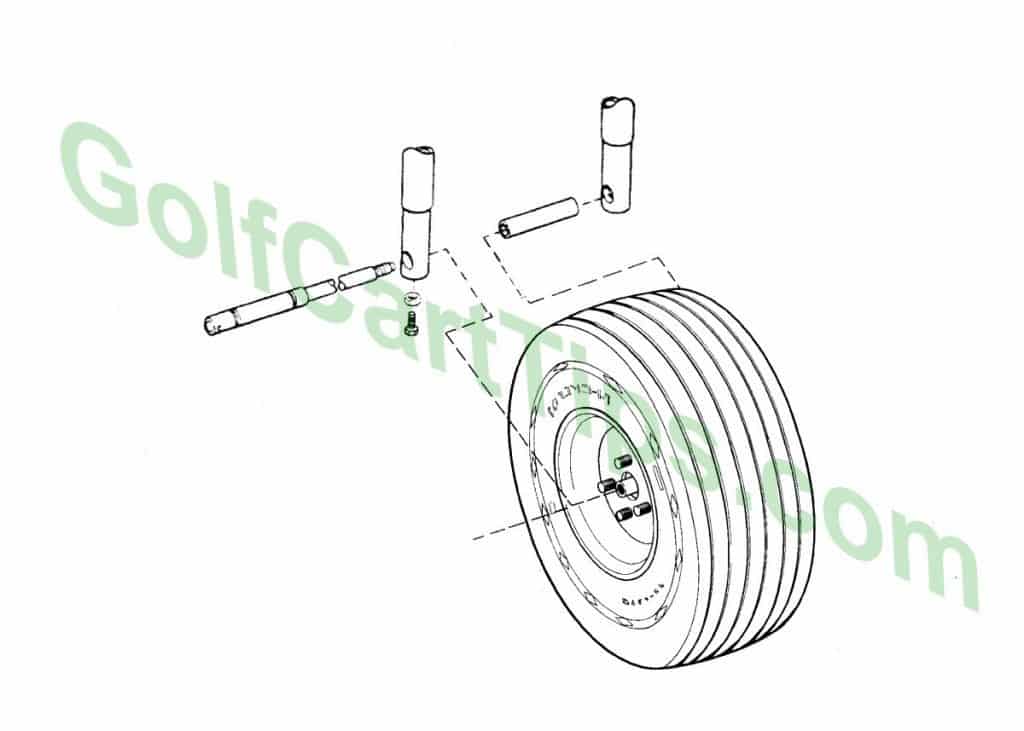
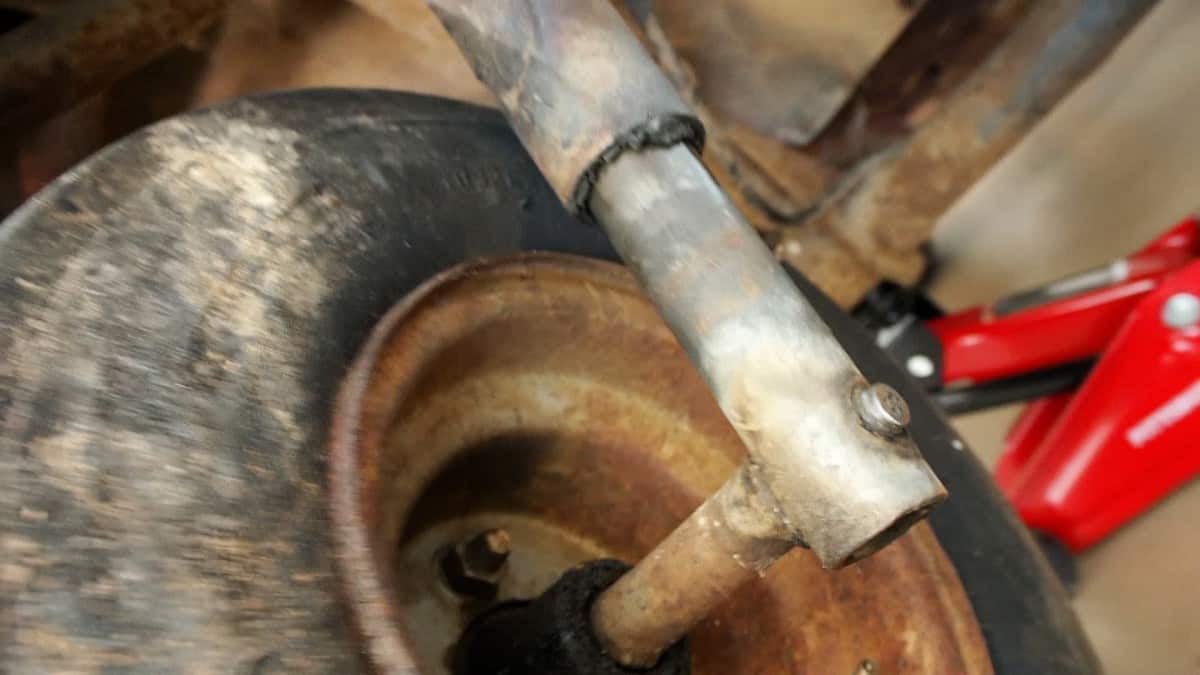
The 1970 and later Harley Davidson models have a different axle and mount from the previous years. The axle is similar in appearance, but the threads at the end actually screw into the threaded hole on the fork (shown in the photo below).
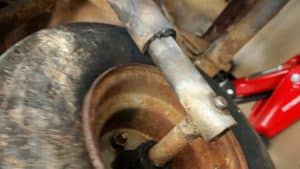
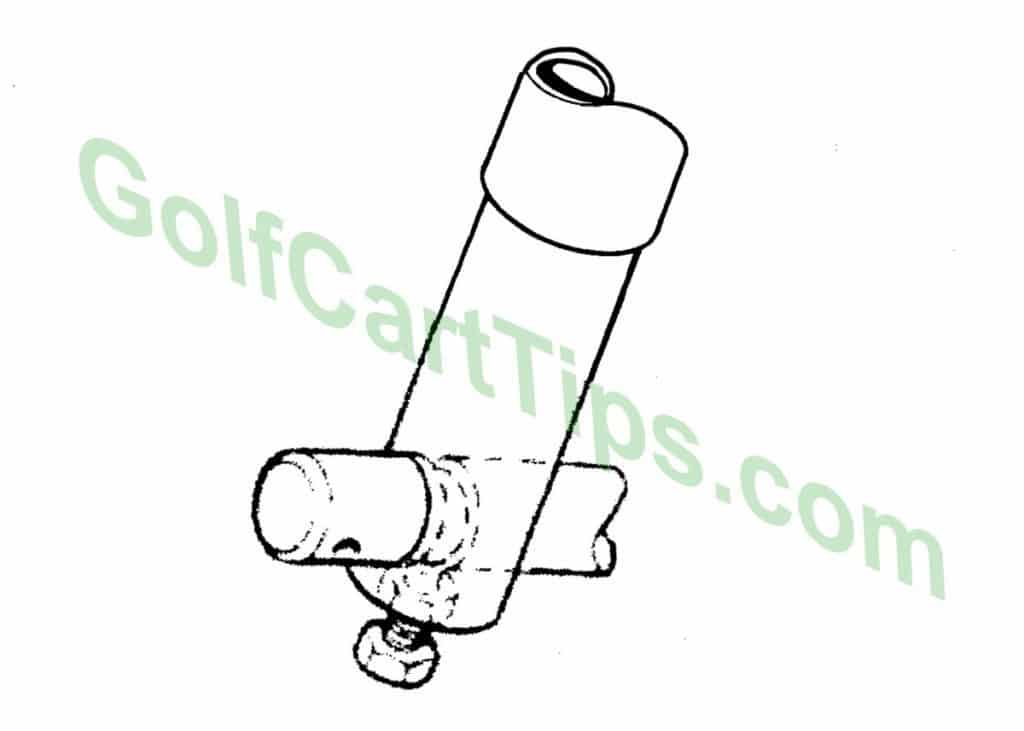
Remove the set screw and locknut on the bottom of the passenger side fork (Shown below).
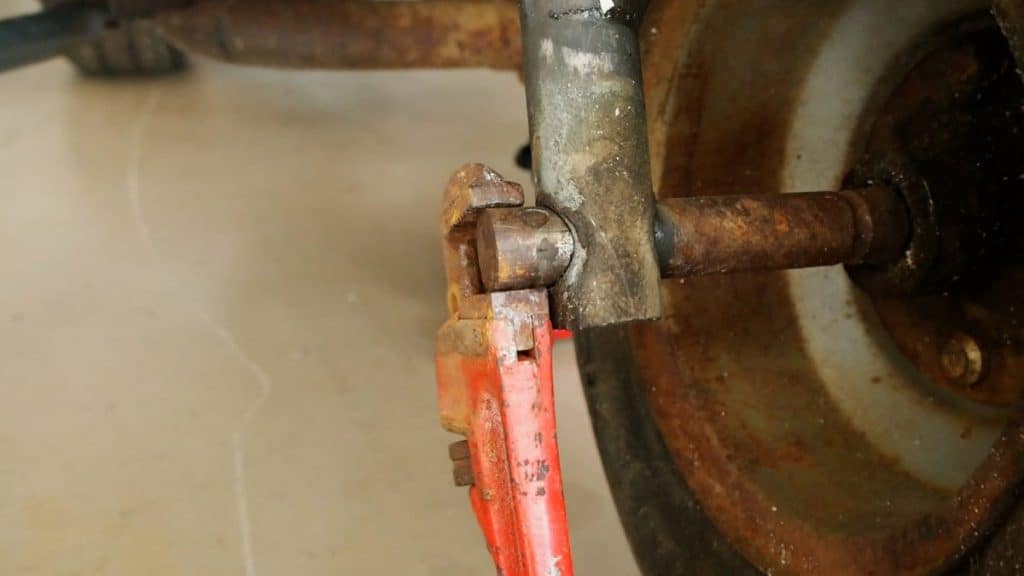
The entire axle can now be unscrewed from the threaded fork on the driver’s side. If it is too tight to remove by hand, use a wrench to start backing the axle out. When the axle has cleared the threads, it can now slide out of the wheel and bearing assembly
Reinstallation is the reverse of these steps, but when the set screw is tightened enough so there is a slight drag on the tire rotation, back the screw out 1/8 of a turn and tighten the lock nut.
It goes without saying that all friction points and bearings should be re-greased before reassembly.
Final Notes
This seems like a very simple process, but many home mechanics have looked at the later version of 3-wheelers and had no idea that the axle unscrews from the fork. I hope this has helped you get your Harley back on the greens.

