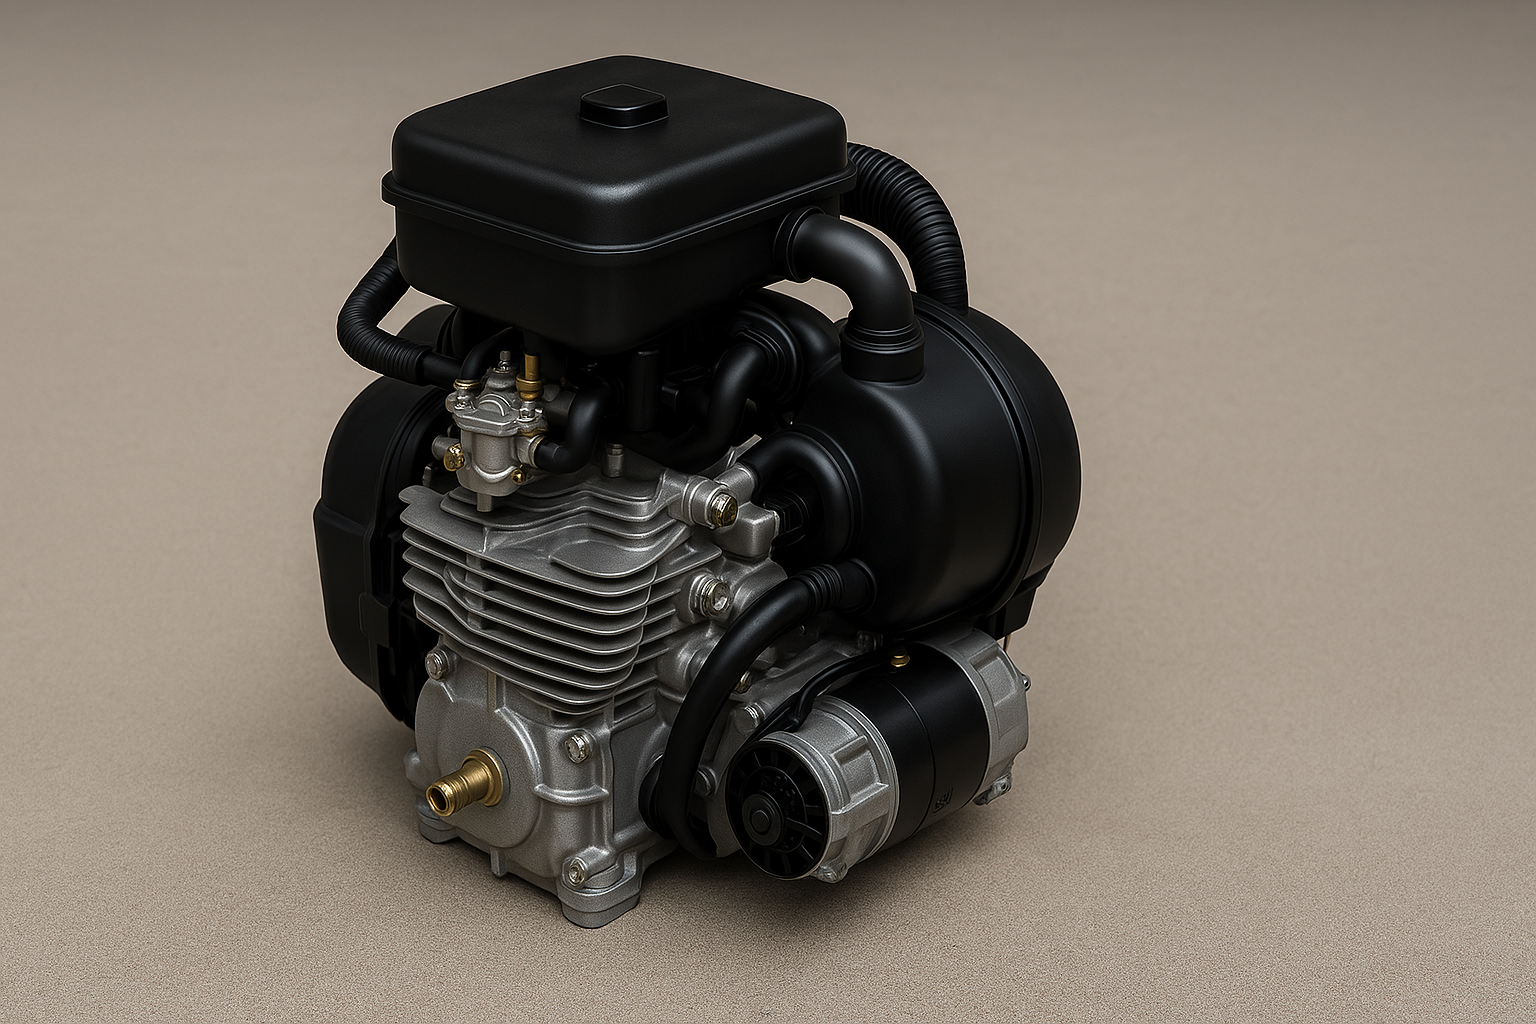
Trying to find out How To Tune Up A Yamaha Golf Cart? A good way to schedule yearly maintenance on your golf cart is to perform the standard tune up when taking the cart out of winter storage. This article is designed to show you how to tune up a Yamaha golf cart the fast and easy way.
Here is the Step by Step procedure to tune up a Yamaha golf cart and get the cart ready for the links and exploring the countryside, using the Air, Spark, Fuel, and Valve sequence.
Step 1: Air Filter
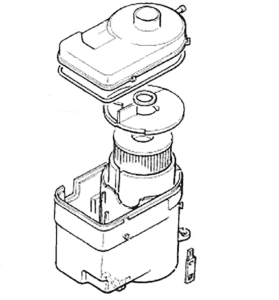
Models G1, G3, and G14
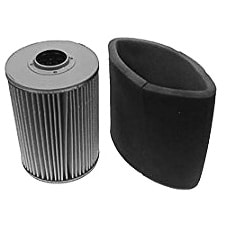
The air filter is cylindrical with a foam prefilter sleeve that fits over the paper element.

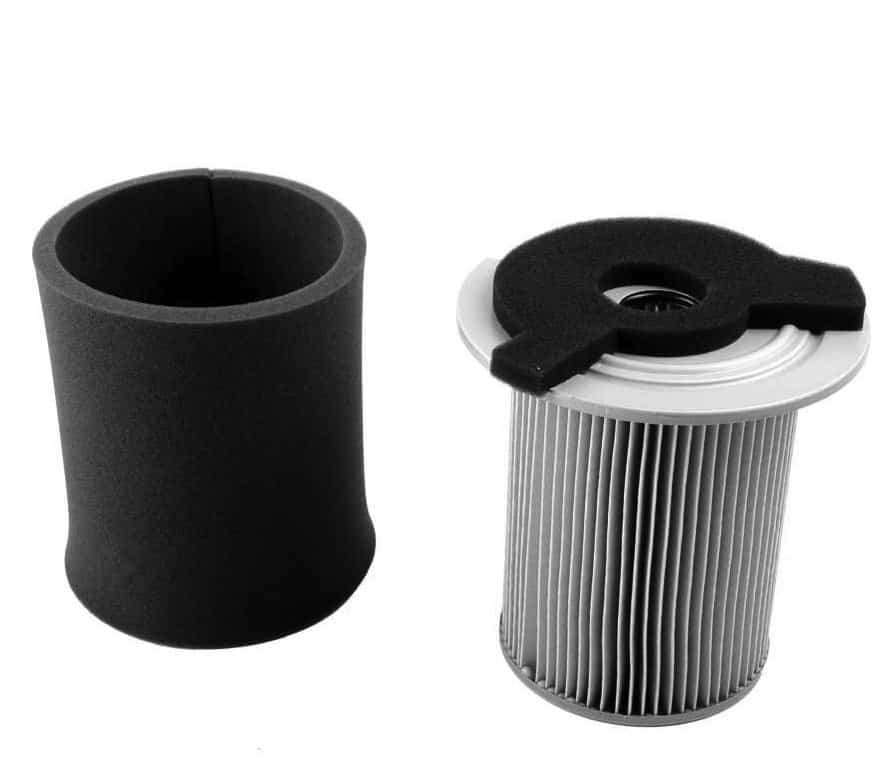
The air filter element is oil-impregnated, and attempting to use an air hose to blow out the impurities will result in reducing the oil. This makes the filter less efficient and should be avoided. The foam cover should capture the majority of pollutants and can be washed out with soap and water. Squeeze out the excess water (don’t wring it out!) and allow to dry before reinstalling over the element. There is a plug at the bottom of the case that can be used after washing out the inside to drain it. Remember to replace this plug as the air will bypass the filter to flow through the hole instead. Assemble the filter assembly as shown above and lock it down with the rubber hooks.
Models G2, G9, and G11
The air filter is cylindrical with a foam prefilter sleeve that fits over the paper element. As with the model above, the filter isn’t cleanable but the prefilter is, and it takes a while to clog up the main filter. This unit has a grommet plug under each of the chambers and uses the same rubber hooks to hold down the cap.
By periodically washing out the foam element cover, the life of the paper element can be extended significantly. Clean it with a solvent or dishwashing soap and squeeze out the excess. Do not apply oil to this pre-filter…it will increase the air resistance and choke out the engine.
Models G16, G19, G22, and G29
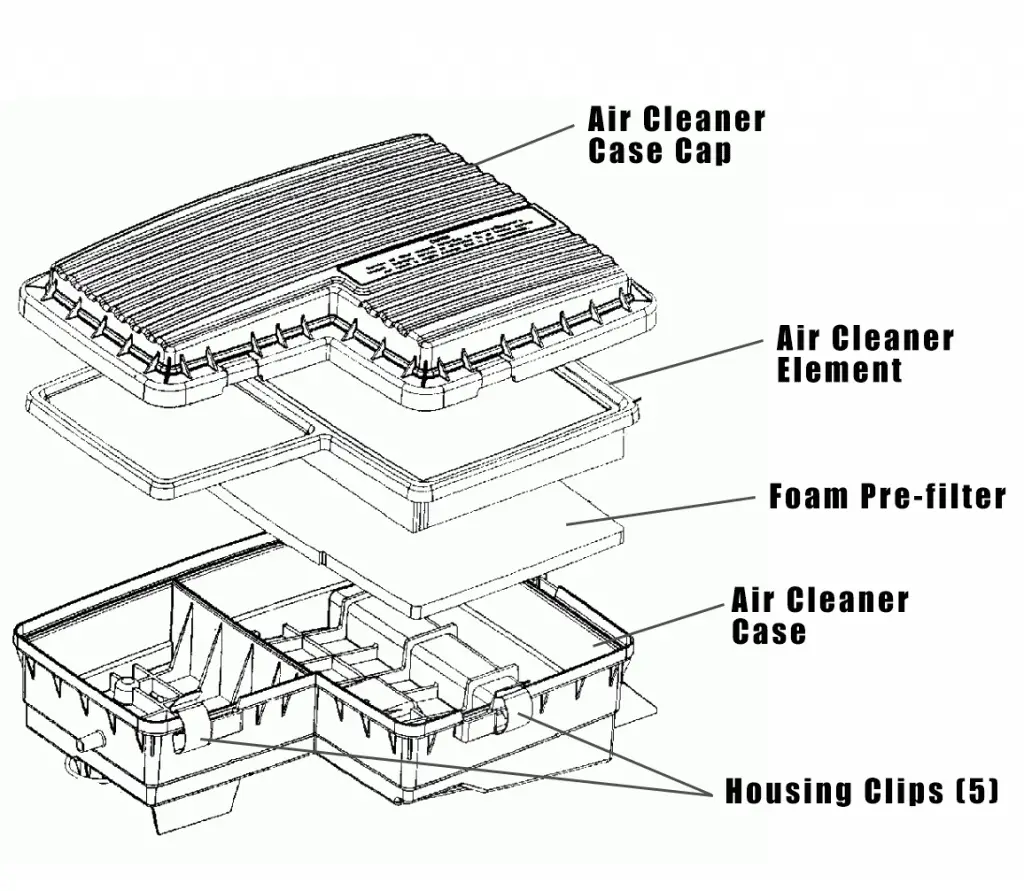
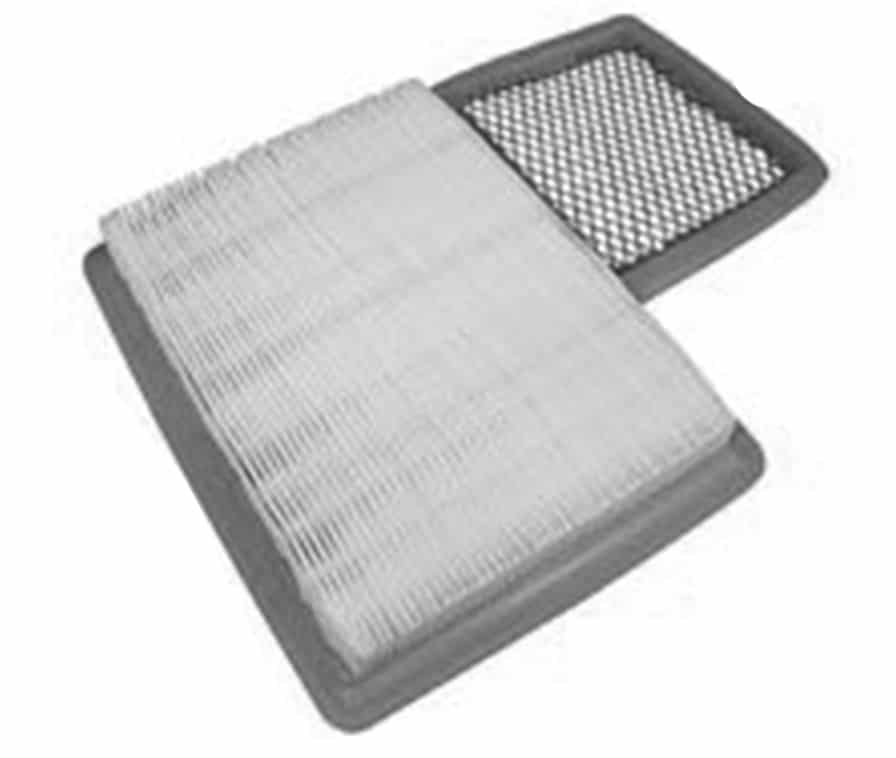
The air filter is a rectangular paper element with a smaller pre-screen attached. The foam pre-filter pictured is available in some tune-up kits but doesn’t usually come with the filter. Release the 5 clips around the filter unit, remove the cap, lift out the Filter element and inspect. Clean the foam pre-filter using the same instructions as above.
Step 2: Spark Plugs
The recommended spark plugs are manufactured by NGK,
G1, G3 – (2-cycle) medium altitude – number NGK BP5HS.
G1, G3 – (2-cycle) high altitude – number NGK #BP4HS
G2, G5, G8, G9, G22, G21, G20, G16, G14 number NGK BP4ES
G11l G16, G22, G29 number NGK BPR2ES 2264
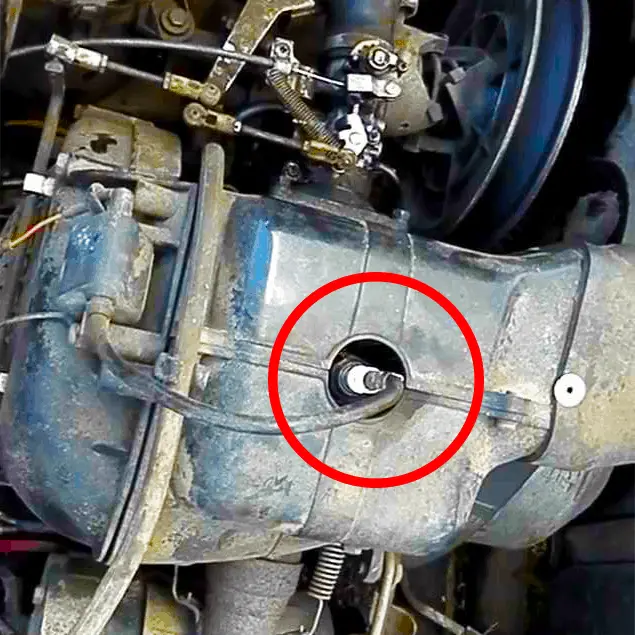
The ceramic insulator should be ivory colored, light brown to brown would indicate the fuel mixture is too lean. If it is black in color, you might be running too rich of a fuel mixture, requiring an adjustment to the air/fuel mixture screw.

Locate the spark plug(s) on the top of the engine and remove the cable, exposing the top of the plug. Use a spark plug socket (13/16″) and ratchet to remove the spark plug and inspect the ceramic insulator.
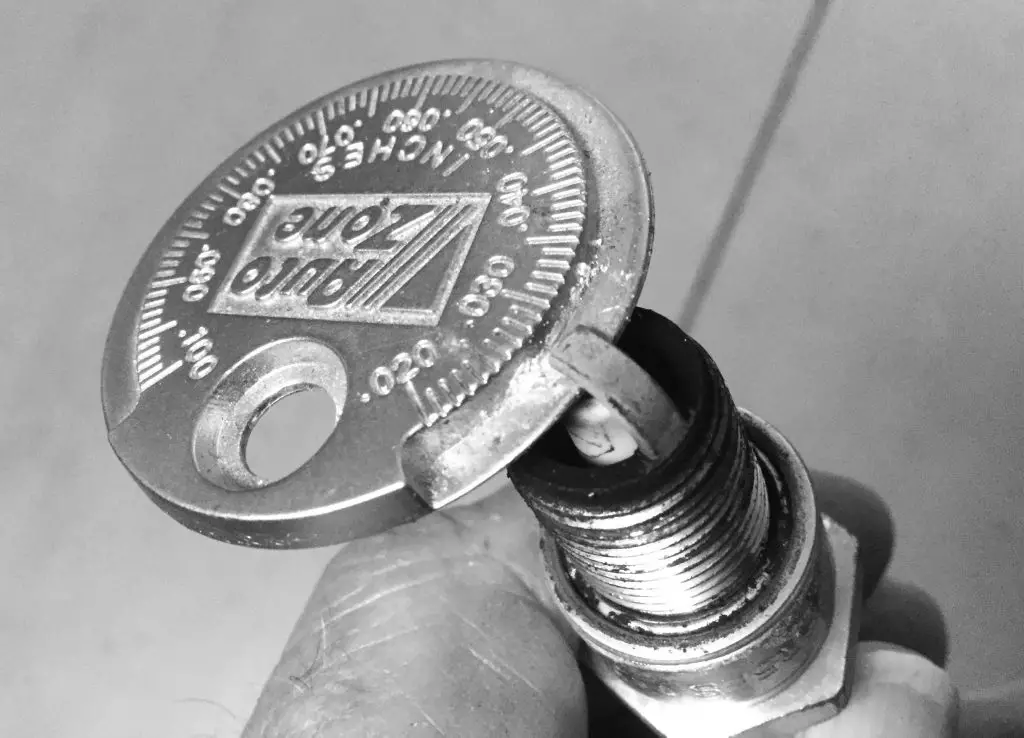
Check the gap with a spark plug gap tool (cheap or free at most parts counters) and set this gap to .024 – .028.
Step 3: Fuel
Replace the spark plug and screw into place using the socket and your fingers to prevent cross-threading, because this is aluminum and strips out easily. Lightly tighten with the ratchet (20ft/lbs) and push the wire connector back on to the spark plug. Inspect the connector boot and wire for any cracking or damage and replace if needed.
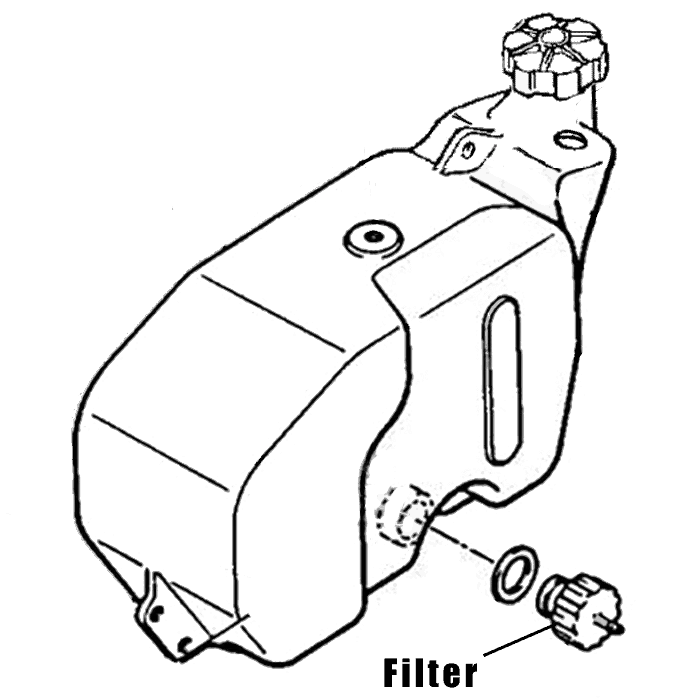
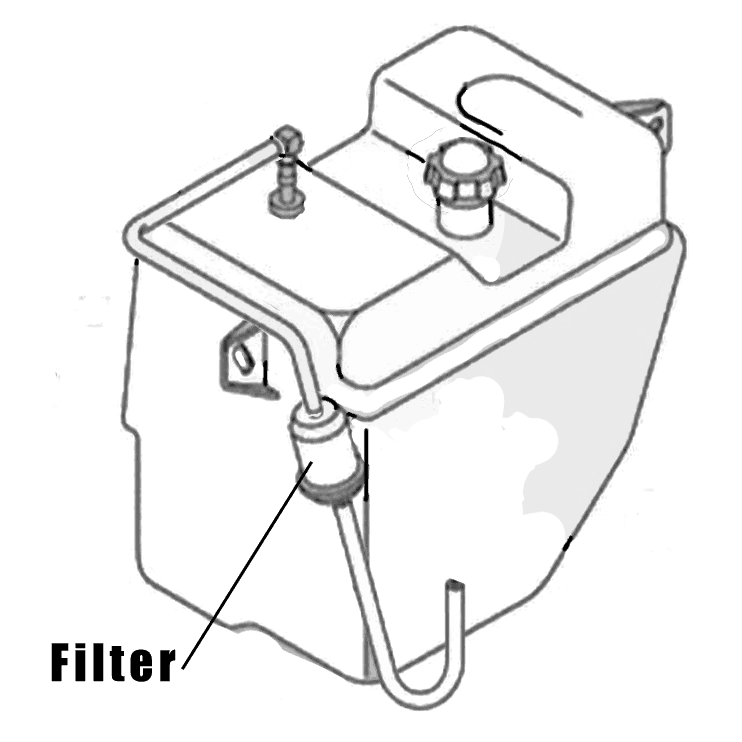
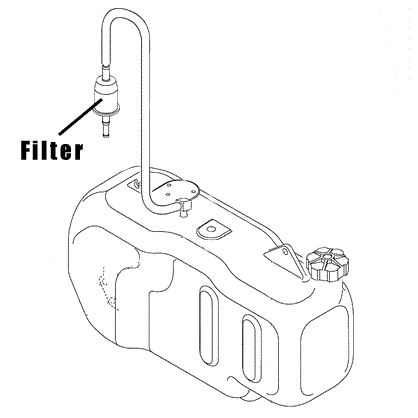
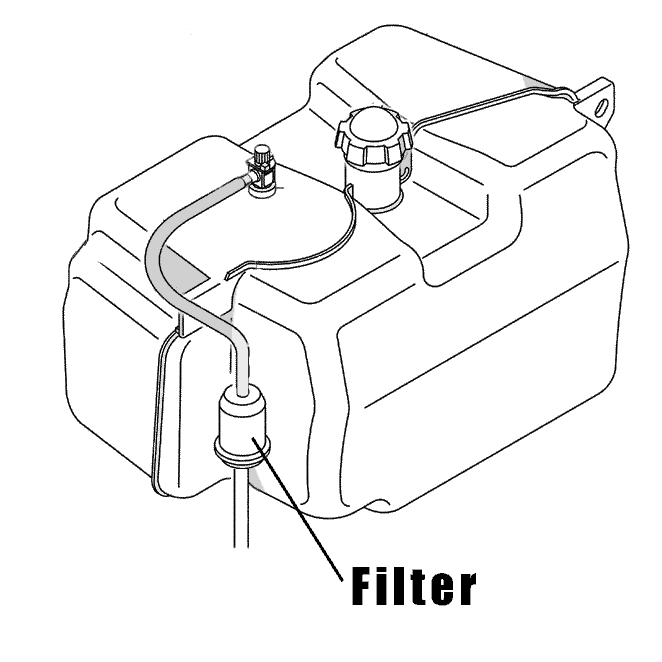
G1 and G3 G14 G16 fuel tank and filter
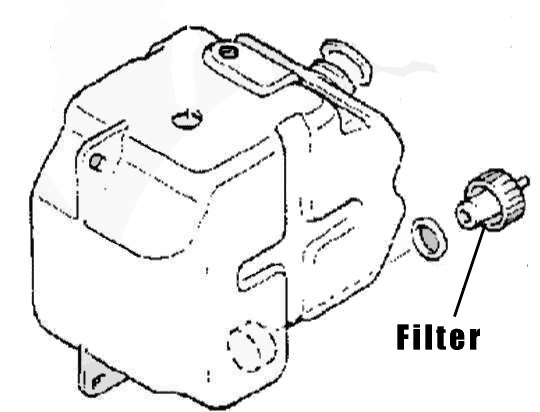
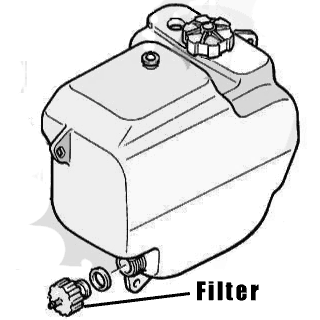
The G2, G9, G11, and the G21 model Fuel tank has a screw-in filter that is difficult to reach. It is advisable to remove the 2-4 bolts holding the tank in and pull the tank out to drain and replace the filter. Please note that on ALL models using the screw-in filter the tank will need to be drained.
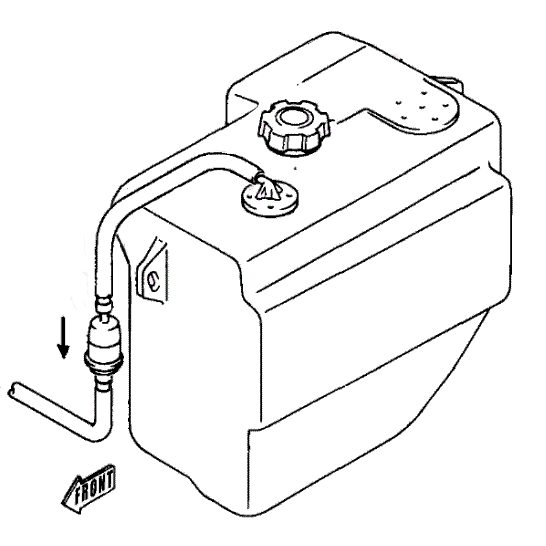
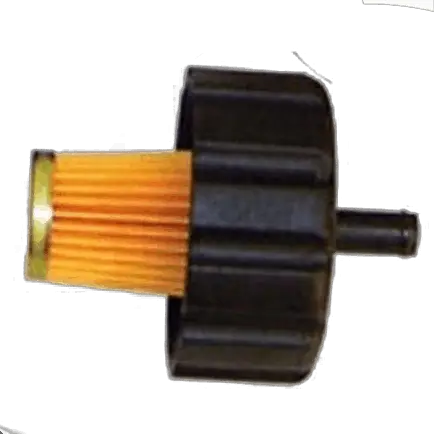
The fuel tank is located on the driver’s side of the vehicle and the filter can be removed with a pair of pliers. Squeeze the spring clip and slide it further up the rubber fuel line, then pull the filter free. Note the direction of flow to prevent installing the filter backward.
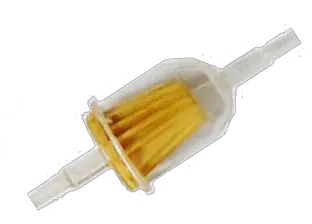
Tap the inlet side of the filter (the tapered end) on a paper towel-lined surface and see if any contaminants are dislodged and stain the paper towel. Your judgment will be needed here to decide if you need to replace the filter or not.





Step 4: Valve Adjustment
4-Cycle engine
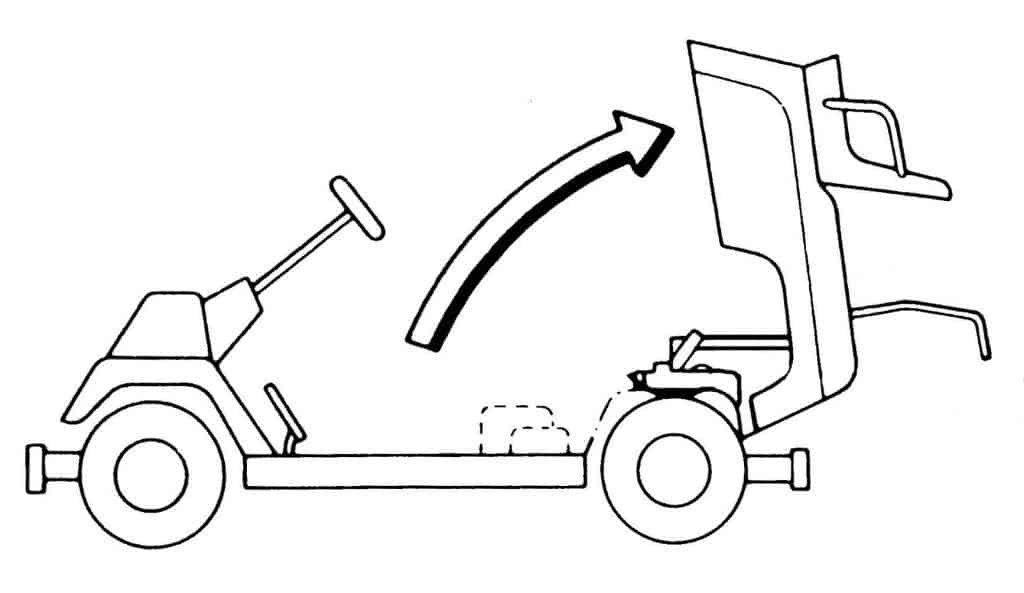
Put the vehicle in neutral and open the seat cowling pulling up on the lever in the gas filler hatch. Remove the 5 screws from the front and rear of the cowling and lift out.
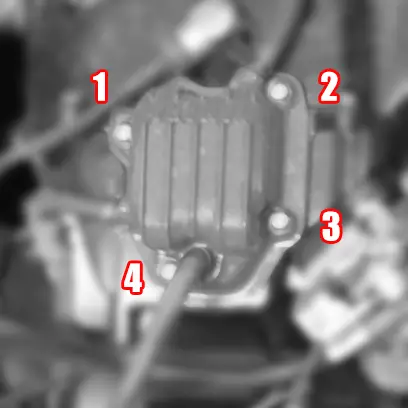
Disconnect the oil breather hose, oil delivery hose, and spark plug lead. Remove the spark plug with a 13/16 socket and then remove the cylinder head cover bolts in the pattern shown here. Gently pry off the cylinder head cover taking care not to damage the gasket. You will then see 2 rocker arms with a nut and a square shank on each.
Using a screwdriver into the spark plug hole, turn the engine over manually by turning the primary clutch by hand. Measure movement in and out with the screwdriver till the piston is at “top dead center” or “TDC”. Use a .004 feeler gauge between the top of the valve stem and the rocker arm adjustment bolt head. If the gap is incorrect and too tight, the valve can’t close. If too loose, the push rod could slip out of place when revving the engine.
To adjust, loosen the 10 mm locking nut (older models will have 8mm locking nuts) on the adjuster screw, then ever so slightly, turn the adjuster screw (clockwise to tighten) till there is a “slight drag” on the feeler gauge. While pushing down on the screwdriver, tighten the jam nut and check with the feeler gauge for proper clearance.
Repeat this procedure for the other rocker arm. You adjust one valve at a time, by turning the clutch until the valve you are NOT adjusting is at max lift. You might need to do this several times because tightening the jam nut will alter the adjustment. Turn the engine over to TDC and recheck the settings. It is good practice to turn the engine over and check several times to make sure the adjustment is correct.
Reinstall the spark plug and tighten carefully to about 10ft/lbs. Wipe the valve cover clean with a rag and lightly oil the gasket surface with your finger before reinstalling. Put the 4 cover bolts back in and tighten in the order of 1,3,2,4 to 7-8 ft/lbs.
Reconnect the spark plug lead and the oil hoses. Start the engine and test your work.
Tune Up A Yamaha Golf Cart Conclusion
Yamaha engines are durable and because of the simple design, they can be successfully rebuilt 3 or 4 times. Initially, the Yamaha G1 2-cycle gas was the standard-bearer and in 1985 the G2 4-cycle single-cylinder gas engine was introduced as the new standard.


