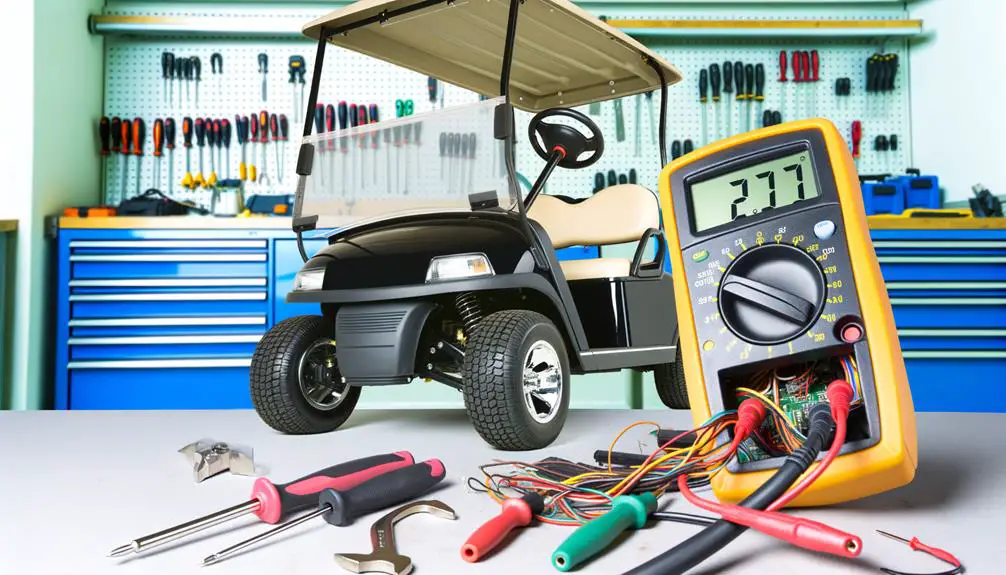
Club Car golf cart wiring issues have often proven to be a source of frustration for me. The complex maze of wires, switches, and components can initially seem intimidating.
However, I’ve learned that with a basic understanding of the system, these issues can be tackled effectively. In this discussion, I’ll share a step-by-step guide on how I troubleshoot common wiring issues, ranging from controller voltage discrepancies to motor connectivity problems.
You might ask, why is this important? Well, knowing how to troubleshoot these issues has not only ensured the longevity of my golf cart, but it has also helped me prevent future electrical failures, keeping my fun on the fairway uninterrupted.
Key Takeaways
- Thoroughly examine controller input and output voltages to identify wiring issues.
- Different types of controllers are available for Club Car golf carts to meet varying requirements.
- Troubleshooting the electrical system involves checking input and output voltages, testing the motor, and inspecting switches.
- Essential tools for wiring repair include wire strippers, crimpers, cutters, a multimeter, and heat shrink tubing with a heat gun.
Identifying Common Wiring Issues
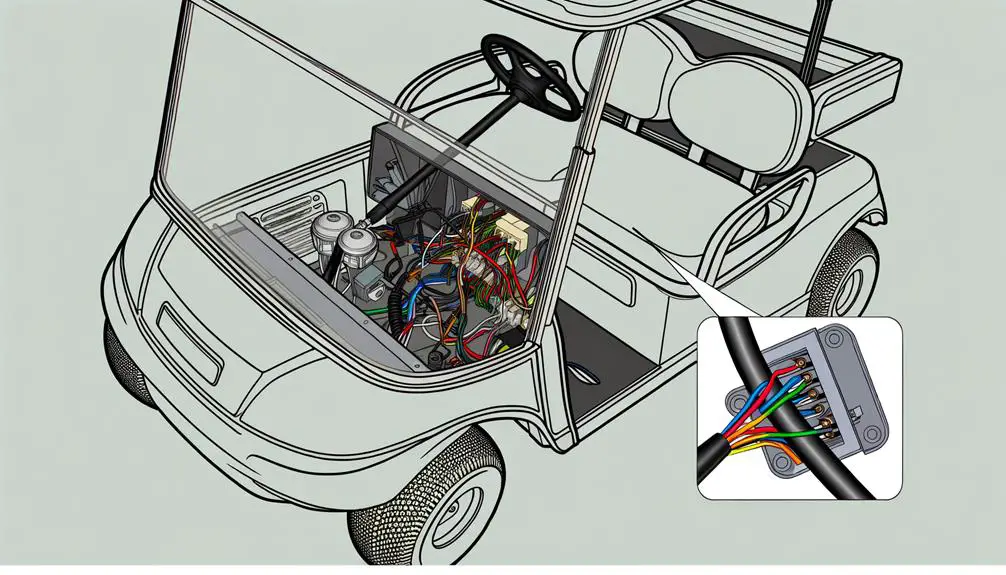
Identifying common wiring issues in golf carts requires a thorough examination of controller input and output voltages, especially in Club Car models. The controller of a Club Car golf cart is an essential component of its electrical system. Irregular speed behaviour of your cart could indicate a faulty speed controller.
The Club Car Wiring Diagrams 1981 To 2002 Golf Carts can be found here.
Ensure the cart is disconnected from all power sources before inspection, this is best done using power tools. Look for any signs of damage or wear in the wiring. The components involved are the controller, wiring harness, and operation light of the Club Car. These parts need to be in good condition; otherwise, replacing the controller might be necessary.
The operation light of the controller should be on; if it’s not, this could signify a controller issue. The batteries must be fully charged prior to any controller tests. A discrepancy between the controller input and output voltages and the specifications might point to a problem with the wiring or the controller.
Club Car Electrical System
The Club Car Controllers form a critical part of the newer golf cart’s electrical system. These components manage the power and speed of the Club Cars, ensuring appropriate acceleration and deceleration.
Different types of Club Car Controllers are available to cater to varying requirements. The choice of controller hinges on the golf cart’s usage. For example, normal trips can be adequately handled by 200-300 Amp Controllers, whereas 300-600 Amp Controllers are ideal for steep inclines and heavy loads.
Speed controllers play a pivotal role as they regulate the cart’s speed, ranging from full throttle to a complete halt. The function of these controllers is to control the power that reaches the motor when the accelerator is pressed. The quality of a controller is judged by the smoothness of acceleration and deceleration.
To troubleshoot the golf cart’s electrical system, it’s necessary to check the controller’s input and output voltages, test the motor for continuity and connections, and inspect switches for their functionality. Comprehensive knowledge of this system is indispensable for the golf cart’s efficient and safe operation.
Club Car Golf Cart Wiring Troubleshooting Guide
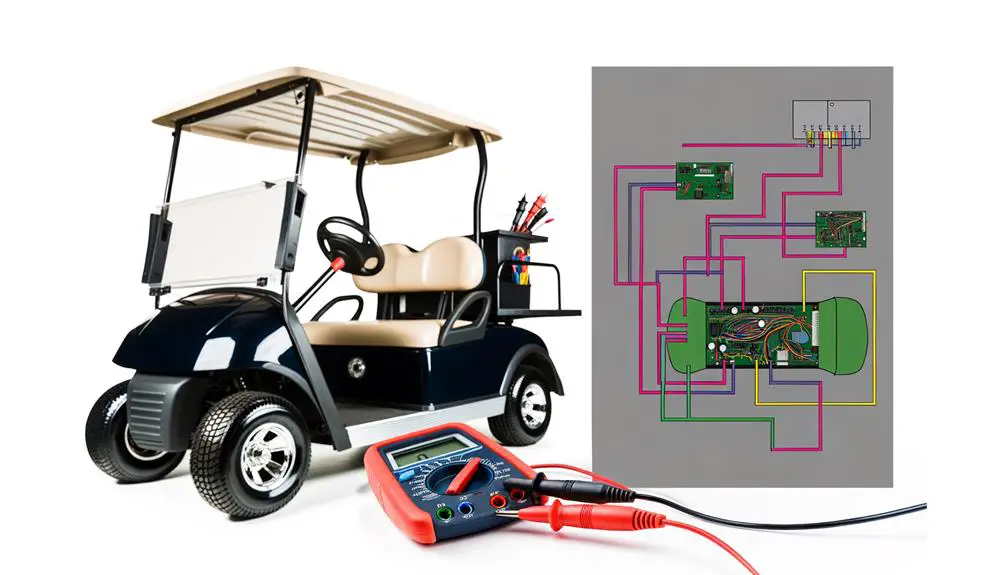
A systematic approach to wiring troubleshooting simplifies the process and effectively resolves common issues with a Club Car golf cart. A comprehensive guide covers every aspect, from the battery to the 56 Amp controller. Start by disconnecting the battery. Hand tools are used to disconnect and inspect the wiring. If the wiring is in good condition, reconnect it.
The next step involves inspecting the accelerator pedal and the CONTROLLER. The CONTROLLER’s role is crucial as it regulates the power and speed of the golf cart. A malfunctioning CONTROLLER can negatively impact the performance of the Club Car. Follow this simple table as a guide:
| Step | Action |
|---|---|
| 1 | Disconnect and inspect the battery |
| 2 | Use hand tools to check the wiring |
| 3 | Examine accelerator pedal and CONTROLLER |
If the Club Car is still not operating correctly after these steps, consulting a professional is recommended. Mastering the wiring system is essential for understanding the operation and maintenance of a Club Car golf cart.
Testing The Electric Motor
Here’s a set of steps that can be useful when you’re trying to fix issues with your motor.
Firstly, you need to disconnect all the cables attached to the motor. Remember to label them so that you know where each one goes. It’s crucial to ensure that none of the terminals are unintentionally connected to the motor or cart, especially the F1 terminal to the motor frame.
Now, let’s talk about continuity. You should find it between F1 and F2, as well as between A1 and A2. However, it should not exist between any A and any F terminal.
If any of these tests do not yield the expected results, it means that your motor will not function as it should.
As we all know, motors play a crucial role in our everyday lives, from our vehicles to home appliances. Therefore, it’s vital to ensure they are operating correctly to avoid any inconveniences or potential dangers.
Remember, “A stitch in time saves nine”. If you address these problems early, you can save yourself a lot of trouble down the line.
So, make sure you follow these steps carefully and remember – safety first! Stay current and educated about your motor, and it will serve you well.
Testing the Controller
First, you’ll want to connect the negative probe to the B- terminal and the positive probe to the B+ terminal.
When done correctly and with the resistor disconnected, your reading should be around 0 volts, assuming the pedal hasn’t been pressed in the last 15 to 30 minutes.
Next, gently press down on the accelerator until the solenoid kicks in. Keep an eye on your meter during this step. The reading should reflect the battery pack’s voltage. Then, continue pressing down on the pedal. As you do this, you should see the reading drop close to 0 volts.
Here’s the crucial part: if the voltage starts at full pack and goes down near zero when the pedal is depressed, but the motor doesn’t respond, then there’s a problem with the high amperage side of the drive circuit. It’s time to inspect the cable connections, the forward and reverse switch, and the motor itself.
Remember, understanding the problem is half the solution. So, take your time to understand what the readings mean and how they affect the overall functionality of your motor.
In this procedure, transitions between steps are important for a seamless process. Always use clear and straightforward language to ensure comprehension. A conversational style often helps to make the instructions more relatable and easier to understand.
Finally, be mindful of the finer details. They could be the difference between identifying the problem correctly and missing it entirely. Be thorough in your inspection and don’t rush the process. With patience and keen observation, you’ll find the root cause of the problem in no time.
“A careful examination is a great first step in any troubleshooting process. It saves time and prevents unnecessary repairs.” – Anonymous.
Essential Tools for Wiring Repair
Wire strippers are key tools that ensure smooth power flow by making clean cuts. Crimpers guarantee secure connections, while cutters are necessary for precise trimming.
The multimeter tests voltage, current, and resistance, functioning as a metaphorical Morse code that reveals the health of electrical circuits. It measures the power drawn from the battery and the current drawn by different programmable controllers.
Heat shrink tubing and a heat gun protect wire connections from moisture and corrosion, thus preserving power flow. A soldering iron and solder are used to make durable connections, fastening wires back onto the controller.
It’s important to disconnect the battery before beginning any repair for safety reasons. If the multimeter points out problems, it’s necessary to replace the faulty components. The wiring diagram is an indispensable tool in your repair kit, guiding you through the system’s layout and connections.
These comprise the essential tools for successful wiring repair.
- VERSATILE FUNCTIONALITY: Measures AC/DC voltage up to 600V, 10A DC current, 2MΩ resistance; additional features include …
- LEAD-ALERT PROTECTION: LEDs on the meter illuminate to indicate proper test lead placement, enhancing accuracy and safet…
- BACKLIT DISPLAY: LCD shows clear readings in low-light conditions for enhanced visibility

Tips for Preventing Electrical Failures
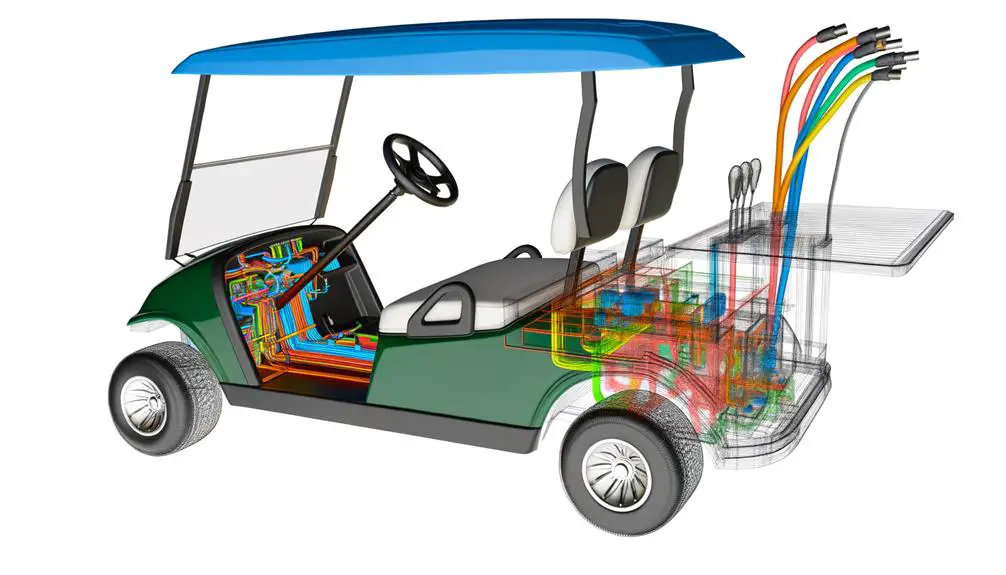
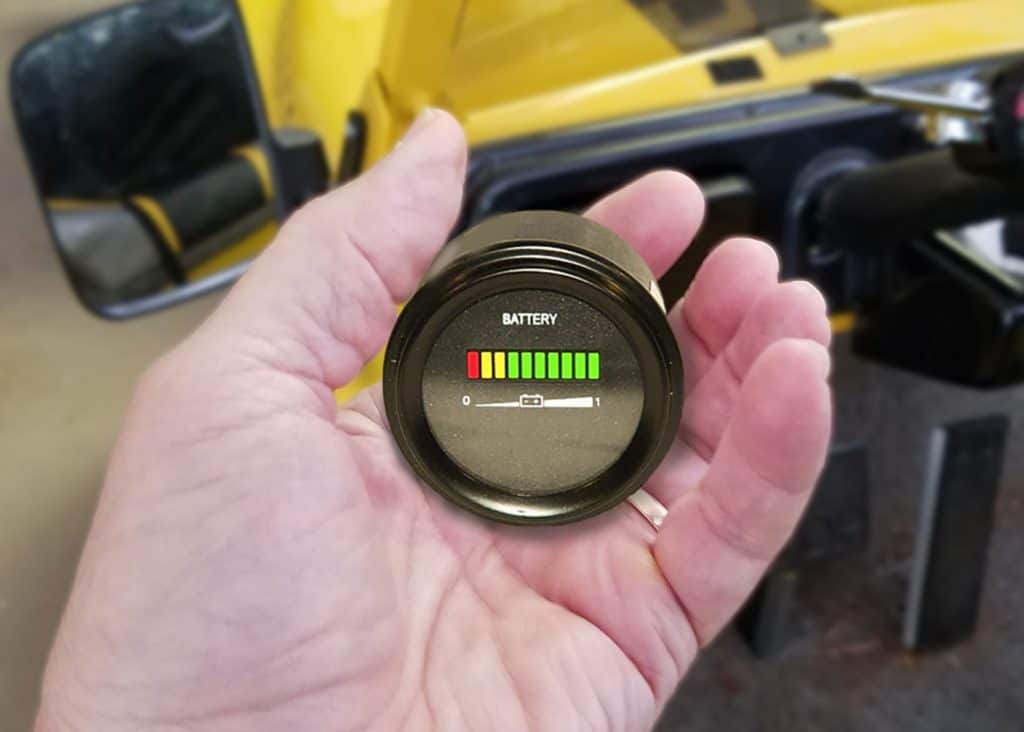
To avoid electrical failures, certain preventative measures need to be implemented for maintaining an efficient golf cart. The battery, being the heart of the golf cart’s electrical system, needs protection from excessive discharging to prolong its life. The detection of issues can be done early by inspecting pack voltage regularly.
The motor and controller serve as the brain and speed control of the cart. The performance of these components is best when they generate less heat. Different power levels are required for motors ranging from a small 2 HP to a larger 5 HP, and overloading them may result in electrical failures. Therefore, it is vital to match the power needs of the motor with the battery’s capacity.
The rate of acceleration also has an effect on the electrical system. Strain on the motor can be caused by rapid acceleration, especially in motors of 5 HP or more. Preserving the electrical system can be done by moderating the rate of acceleration.
The wiring harness should also be inspected for signs of wear or damage. The flow of electricity can be disrupted by loose connections, which may cause failures.
The electrical system of your golf cart will run efficiently and be protected from common failures by implementing these preventative measures.
Frequently Asked Questions
How Do You Reset the Onboard Computer on a Club Car Golf Cart?
Safety First: Before you begin, ensure that the golf cart is turned off. Remove the key from the ignition to prevent any accidental starts.
Disconnect the Battery: Open the battery compartment and disconnect the negative (-) terminal of the battery. This is crucial to prevent any electrical shocks or shorts while working on the golf cart.
Locate the Onboard Computer: The onboard computer is usually located near the battery compartment or under the seat. Refer to your Club Car golf cart’s manual for the exact location.
Reset the Computer: There are two common methods to reset the onboard computer:
Manual Reset: Some models have a reset button on the onboard computer. Press and hold this button for a few seconds. If your model has this feature, it will be mentioned in the manual.
Power Reset: For models without a manual reset button, the reset is done by reconnecting the battery. First, ensure that all connections to the onboard computer are secure. Then, reconnect the negative (-) terminal of the battery.
Check the Functionality: After the reset, turn on the golf cart to check if the onboard computer is functioning properly. Look for any error messages or lights that might indicate a problem.
Consult the Manual: Always refer to your specific model’s manual for detailed instructions. The manual will provide model-specific information and any precautions you need to take.
Seek Professional Help if Needed: If you’re unsure about any step or if the problem persists after the reset, it’s advisable to consult a professional technician who specializes in Club Car golf carts.
Remember, handling electrical components can be risky. If you’re not comfortable performing these steps, it’s best to seek professional assistance.
What Would Cause a Golf Cart Not to Move?
How Do You Test a Micro Switch on a Club Car?
Audio Transcript of This Article
Is the Golf Cart Wiring Issue Causing the Charger Problem?
If you’re experiencing a golf cart charger problem, the issue could be related to the wiring. For troubleshooting, start by checking the wiring connections and inspecting for any damage. Following these expert tips for golf cart charger maintenance can help resolve the issue and ensure smooth charging for your golf cart.

