In my experience with electric golf carts, I’ve found that a well-functioning 48-volt golf cart charger is key to ensuring the vehicle’s performance and longevity.
As an owner, I’ve come across a plethora of charging issues, from minor connector malfunctions to more complex circuitry challenges. The expert tips and solutions I’ve picked up along the way provide clear, step-by-step guidance for identifying and resolving these common charger complications.
Whether I’m faced with a blinking light indicator, enduring slow charge times, or grappling with a charger that refuses to power on, I’ve learned how to diagnose and rectify the situation.
By getting a grasp on the fundamentals of charger maintenance and repair, I’ve been able to extend the life of my golf cart and keep it game-ready for my next round of golf.
Stay with me as I share the vital details of charger care and the essential troubleshooting techniques that every golf cart owner should be aware of.
Key Takeaways
- Testing the battery voltage with a voltmeter is an important step in identifying charger issues and troubleshooting.
- Inspecting and cleaning the connections for loose wires, corrosion, and damage is crucial for proper charging.
- Checking fuses, diodes, and circuit boards for damage and replacing them if necessary can help resolve charging problems.
- Consulting the manual or seeking professional help is recommended for slow charging issues and for resetting the charger if needed.
Identify 48-Volt Golf Cart Charger Issues
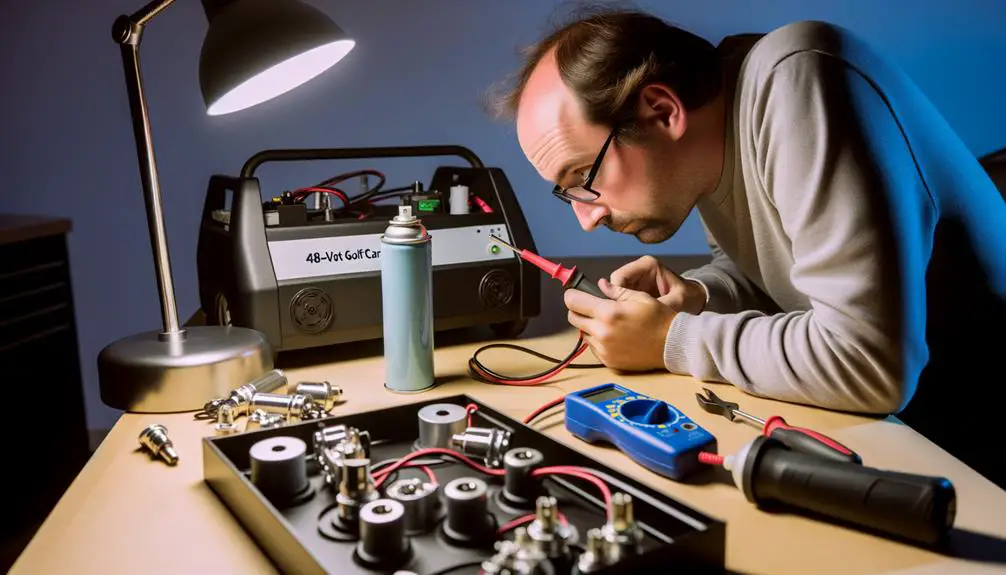
To identify 48-volt golf cart charger issues, begin by testing the battery voltage with a voltmeter. Ensure it reads at least 25-30 volts. If the voltage is low, the charger may not turn on. This is crucial for proper charging.
Next, examine connections. Look for loose or damaged wires. Clean any corrosion from the battery terminals and charger plug. Corroded or dirty terminals can cause charging problems. A clean connection is needed for the charger to work well.
Also, check fuses and diodes. These parts can stop the charger from working if they are burnt or damaged. Replace them if they look bad. This step is part of a helpful Troubleshooting Guide. It can fix a charger not turning on.
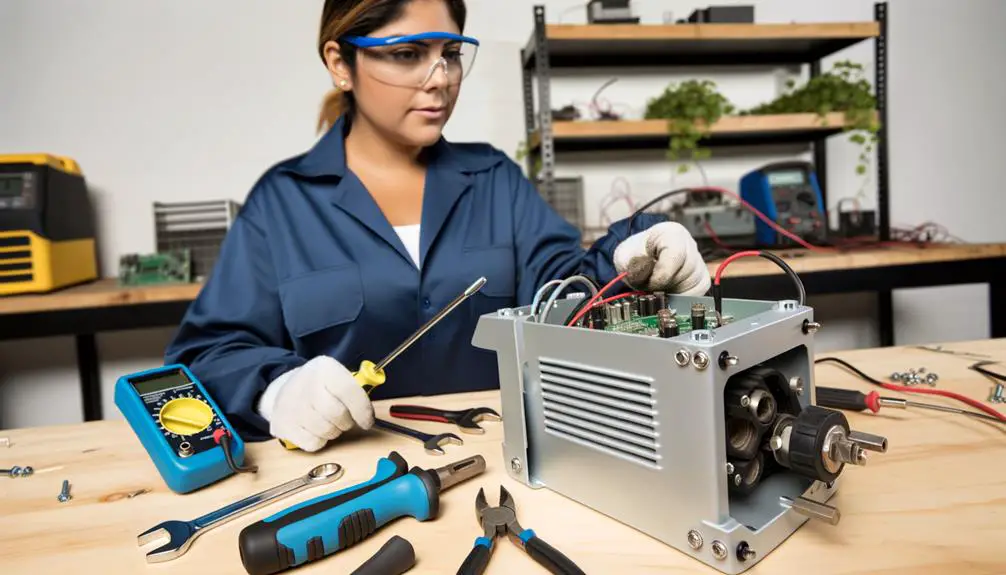
If these steps don’t work, you might need to replace the circuit board. Find the right one for your charger. Install the new board carefully.
For more help, reset the charger or look at Charger Fault Codes. These codes can tell you what is wrong. If you still have trouble, read the user manual or ask a professional. They can help you Troubleshoot and Fix the issue.
Testing the Battery Condition
Begin testing the battery condition by using a voltmeter to measure the voltage of each individual battery. This is a crucial step to ensure that each battery in the pack contributes to the overall performance of your golf cart. Here’s what you need to do:
- Inspect Battery Terminals: Check each battery terminal for signs of corrosion or damage. Clean any corrosion with a brush to ensure a good connection.
- Measure Battery Voltage: With the voltmeter, test the voltage of each battery. Lead-acid batteries should read a voltage slightly above their rated level when fully charged.
- Assess Voltage and Amperage: Confirm that the batteries are within the 25-30 volt range. If the reading is below this, they may not be able to initiate the charging process.
- Evaluate Battery Pack: If the individual batteries show proper voltage and amperage, the issue may lie elsewhere. However, if they do not, consider charging with a car battery charger.
Understanding your batteries’ condition is key to maintaining a functional golf cart battery charger. If the batteries are significantly below the expected voltage, they may be incapable of holding a charge, indicating that it’s time for a replacement or a deep charging cycle.
Inspect Charger Connections
Inspecting charger connections is an essential step in troubleshooting your golf cart’s charging issues. When your 48-volt golf cart charger fails, start by checking the connections. Look at the power cord. Make sure it is not frayed or damaged. The plug should fit snugly into the electrical outlet. If it is loose, this could be the problem.
Next, see if the charger is plugged into the cart correctly. It must be secure for the charger to work right. If the connection is loose, push it in until it clicks.
Now, inspect the circuit board. Are there any loose wires? If you see any, tighten them. If wires are broken, you might need to replace them.
Disconnect the batteries before you clean. This is for safety. Then, clean the terminals. They can get dirty or corroded. This dirt can stop the charger from working properly.
After you inspect charger connections and fix any issues, test the charger. If it now works, you have solved the problem. If not, you might need to look at other parts of your golf cart charging system.
Troubleshoot Common Faults
To troubleshoot common faults effectively, follow these steps:
- Testing Battery Voltage: Disconnect your charger and use a voltmeter to check the battery voltage. It should read between 25 to 30V. If it’s lower, a car battery charger might be needed to charge dead batteries.
- Inspecting and Fixing Connections: Ensure all connections are tight and intact. Look for and fix any damaged wires or plugs. Clean off any corrosion or debris that may block current flow.
- Checking and Replacing Fuses and Diodes: Find and examine fuses and diodes. Replace any that are damaged to ensure proper functioning of your golf cart charger.
- Replacing Circuit Boards: If the charger fault codes suggest a circuit board issue, remove the faulty board and install a new, compatible one. Recheck all connections before testing.
For chargers with slow charging issues, ensure proper maintenance and regular cleaning. If the problem persists, consult the manual for your specific model, such as a Yamaha 48 Volt charger, or seek professional help.
Perform Charger Maintenance

To ensure the longevity and reliability of your 48-volt golf cart charger, regular maintenance is crucial. This involves several key steps that keep your charger and golf cart batteries in top condition.
First, always verify the battery voltage. It should be at least 25-30 volts for the charger to work well. Loose or damaged connections can cause issues; check between the charger, batteries, and AC outlet. If you find problems, fix them.
Next, inspect your charger for blown fuses and faulty diodes. These small parts can stop your charger from working. If they’re bad, replace them. Sometimes, the problem is big, like a broken circuit board. If so, put in a new one and test it.
If your charger doesn’t work, try to reset it. Your user manual can show how. If you’re stuck, ask a pro for help. They know Charger Fault Codes and can fix your charger fast.
Here’s a simple table to guide your maintenance:
| Maintenance Task | Frequency | Notes |
|---|---|---|
| Check Battery Voltage | Every Use | Ensure 25-30 volts |
| Inspect Connections | Monthly | Secure Charger, Batteries, AC outlet |
| Replace Fuses/Diodes | As Needed | Look for signs of damage |
| Circuit Board Replacement | If Necessary | Ensure correct installation and testing |
| Charger Reset | Troubleshooting | Consult manual or professional assistance |
Frequently Asked Questions
Why Wont My 48 Volt Golf Cart Charger Come On?
Your 48-volt golf cart charger may not power on due to insufficient battery voltage, loose connections, blown fuses, or damaged diodes. A faulty circuit board could also be the cause. Consult a professional if needed.
Can You Repair a Golf Cart Battery Charger?
Yes, repairing a golf cart battery charger is possible. It often involves testing battery voltage, securing connections, replacing fuses or diodes, and potentially substituting circuit boards to address any underlying issues.
How Do I Fix My Golf Cart Not Charging?
To fix a golf cart that’s not charging, start by checking the battery voltage and ensuring it’s above 25 volts. Inspect connections, replace any blown fuses, and consult a professional if necessary.
How Can I Tell if My Golf Cart Charger Is Bad?
To ascertain if your golf cart charger is malfunctioning, observe for symptoms such as failure to initiate charging, premature shutdown, sluggishly progressing charge, or the unit becoming excessively hot during operation.
Conclusion
In conclusion, maintaining the functionality of a 48-volt golf cart charger necessitates diligent inspection and troubleshooting. Regular evaluation of battery health, thorough examination of connections, and prompt addressal of common faults are imperative.
Adequate charger maintenance ensures longevity and reliability. Should complexities arise, consulting a professional is recommended.
Audio Transcript of This Article
Can Resetting the Electric Motor of a Golf Cart Charger Fix Charging Issues?
If you’re experiencing charging issues with your golf cart, trying resetting the electric motor of the charger. This simple process can often fix common charging problems and get your golf cart back up and running. In many cases, resetting a golf cart motor can resolve issues without the need for professional repairs.


